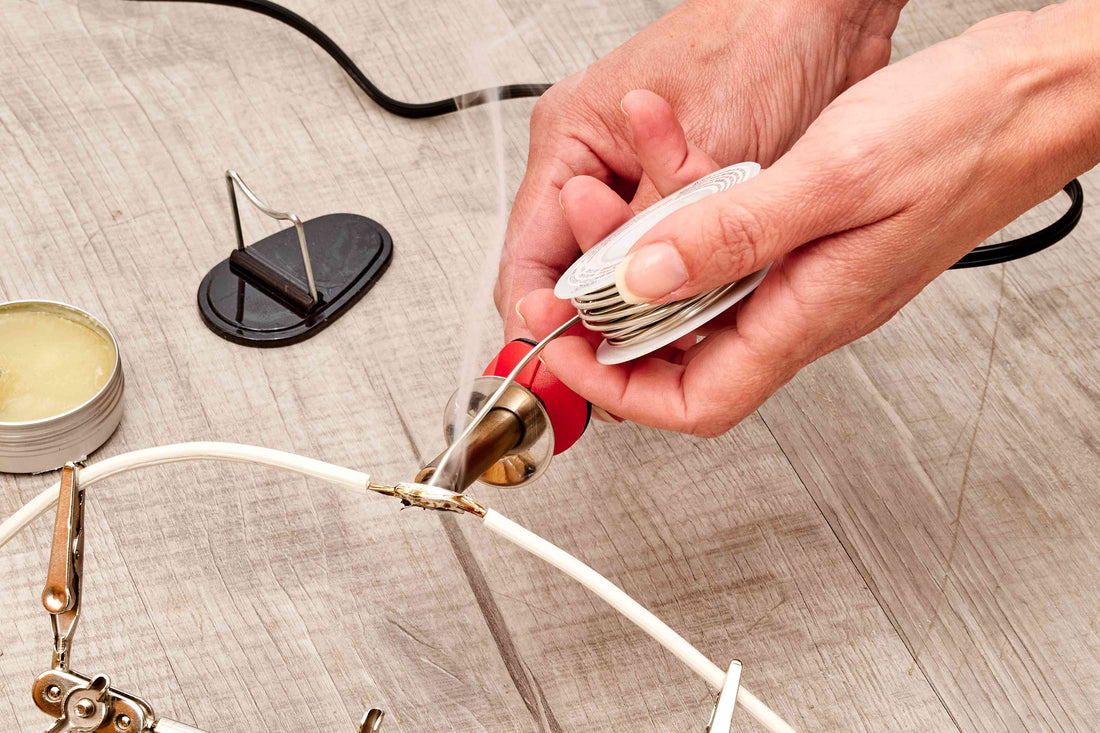
How to Solder a Wire to a Terminal
Soldering an electrical wire to a terminal is a common task in electronics design and electric. Welding is a process that involves fusing metals together to create a solid and reliable electrical connection.
What do you need to solder a wire to a terminal
To solder a wire to a terminal, you will need some basic tools and follow some steps. Here is a step by step guide on how to solder an electrical wire to a terminal:
Gather the necessary tools: To perform the soldering, you will need a soldering iron, tin (soldering alloy), a soldering iron holder, cutter pliers, a pair of nose pliers and heat shrink insulation.
Prepare the Wire
Start by preparing the wire that will be soldered to the terminal. Use the pliers
cut to cut a small amount of insulation at the end of the wire,
exposing about 1.27 cm to 1.9 cm of bare copper.
Prepare the terminal
Check that the terminal is clean and free of dirt or coatings that can prevent a proper weld. If necessary, use the nozzle pliers to clear the terminal before accepting.
Warm up the soldering iron
Plug the soldering iron into an electrical outlet and wait a few minutes for it to have tolerated the proper temperature. The ideal temperature can vary depending on the type of solder and materials involved, but generally it is
between 315 °C and 400 °C.
Apply the tin to the soldering iron
Record a small amount of tin on the soldering iron.
Soldering iron tip* This helps transfer heat and tin the wire and terminal during the soldering process.
Warm up the terminal
Hold the soldering iron in your dominant hand and position it so to touch both the terminal and the wire at the same time. Apply heat for a few seconds to warm up the terminal.
Apply the tin
With the terminal warmed up, touch the solder to the enthusiasm between the wire and the terminal. The solder will melt and strengthen, creating a solid connection. Make sure that the soldering completely envelops juncture and forms a robust connection.
Allow to Cool
After applying solder, wait a few seconds to allow it to cool and solidify completely. Avoid moving the wire during this time to avoid connection problems.
Insulate the connection
Once the solder has cooled, slide a piece of insulator heat shrink over the connection and use a lighter or heat gun to heat it up. The heat shrink insulation will cry and fit around the connection, providing electrical insulation and mechanical protection.
Remember to follow all safety precautions when soldering, such as wearing goggles, protective equipment to prevent eye injuries, work in a well-ventilated area and keep the soldering iron in a suitable holder when not in use. Also, practice on small projects before working with more complex electrical equipment.
Connecting electrical wires to terminals can be a satisfactory process when
done correctly. A well-executed solder connection provides a connection
reliable and long-lasting electrical.
