
How to Splice Electrical Wires: What You Need to Know
Splicing is one of the most crucial skills in basic electrical work, and it must be performed correctly to prevent faults or hazards. A poor splice can lead to power loss, short circuits, or even fire. That is why safe, secure, and durable connections are critical.
In this article, we will walk through the tools you need, the steps to follow, and common mistakes to avoid.
You will also learn how to choose the right materials—like T-tap wire connectors and waterproof wire connectors—for your electrical splicing projects.
What Does It Mean to Splice Electrical Wires?
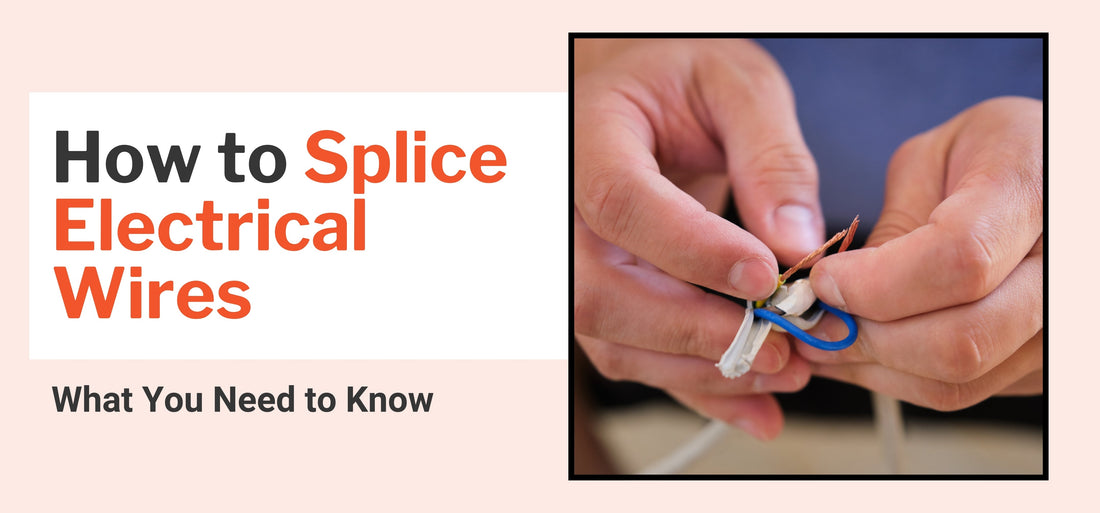
To splice electrical wires means to join two or more wires together to allow electricity to flow through a continuous path. It is a basic but essential technique in electrical work.
This method is used in various settings, including home electrical repairs, automotive wiring, and the maintenance of electronic devices.
When done correctly, a splice provides a secure connection that keeps the electrical circuit safe and functional. Improper splices, on the other hand, can lead to loose connections, short circuits, or fire hazards.
Learning proper techniques and using the right tools is key to safe wire splicing. For example, connecting wires with T-tap connectors is a fast and effective method for clean installations.
Safety First – What You Must Know Before Splicing
Here are a few things you need to keep in mind to avoid any accidents:
Always Shut Off the Power
Before you splice electrical circuit wires, turn off the power at the circuit breaker. Never assume a wire is safe until you test it. This step prevents shock, injury, or worse.
Test for Live Wires
Use a voltage tester to confirm that all wires are dead before touching them. This tool is essential for any electrical work.
Wear Proper Safety Gear
Always wear insulated gloves and protective goggles. These protect you from electric shock and accidental contact with sharp tools.
Know Your Wire Types
Identify whether you are working with copper or aluminum, as well as whether the wires are stranded or solid.
Each type reacts differently to heat, pressure, and connection methods. This is particularly important when using tools like heat guns for soldering or wire nut kits.
Check Local Electrical Codes
Some areas require a licensed electrician for specific projects. Always verify legal requirements before starting any wire splicing job.
Tools and Materials You Will Need
Before you get starter, here are a few things you may need:
-
Wire Stripper: A wire stripper removes the insulation from the wire without damaging the underlying copper or aluminum. It prepares the wire ends for a clean and accurate connection.
-
Lineman’s Pliers: These are used to twist wires together and cut through thick electrical cables. They are essential for creating strong mechanical splices.
-
Heat Shrink Tubing or Electrical Tape: Use heat shrink tubing for a tight, insulated seal over exposed wires. Electrical tape is a common option for temporary or quick fixes.
-
Wire Nuts or Soldering Tools: Wire nuts twist over the ends of wires to create a secure connection. Soldering tools provide a more permanent bond using melted solder. When using tools like butt connectors or ring terminals, you may need to solder.
-
SolderStick Connectors: SolderStick offers wire connectors that combine solder and heat shrink tubing in one step, making them ideal for fast and clean jobs.
-
Utility Knife, Lighter, or Heat Gun: Use a utility knife to trim insulation. A lighter or heat gun activates the shrink tubing for a durable connection.
Step-by-Step Guide on How to Splice Electrical Wires
Splicing wires safely starts with the correct method and tools. Each step must be done carefully to avoid faulty connections or fire hazards. Follow this guide to splice electrical circuit wires the correct way:
1. Turn Off the Power and Verify
Before handling any circuit wires, go to your main electrical panel and shut off the breaker that controls the circuit. Label the breaker if needed.
Use a voltage tester to confirm the wires are not live. Always test both ends of the wire. Even a low voltage can be dangerous. Never skip this step.
2. Strip the Wire Ends Properly
Use a wire stripper to remove the insulation without damaging the conductor. Select the correct notch on the tool based on the wire gauge.
Strip about ¾ inch of insulation from each wire end unless your connector requires a different length. Avoid nicking or cutting the metal strands.
Damaged wire ends lead to weak or unsafe connections. For small-gauge wires, work slowly and carefully.
3. Choose Your Splice Type
There are several methods for splicing electrical wires. Choose the right one for your project.
Twist-on (Wire Nut) Splice: Common for home repairs inside an electrical box. Use with wires of the same size.
Solder Splice: Ideal for permanent connections. Requires a soldering iron and heat shrink tubing.
Crimp Connectors: Use a wire crimping tool to crimp terminals, such as wire eyelet connectors. These are fast and reliable to use.
Heat Shrink Butt Connectors: Waterproof and insulated, perfect for automotive or damp areas. SolderStick butt connectors combine solder and tubing in one step for a strong, sealed connection.
4. Connect the Wires
Match your connection method to your chosen splice type:
-
Twist-On Wire Nuts: Hold the wire ends side by side. Twist them clockwise until they are securely in place.
-
Soldering: Apply solder to the hot metal after twisting the wires. Let it flow fully through the splice.
-
SolderStick Connectors: Insert the stripped wire ends, apply heat with a heat gun, and let the solder melt and the tubing shrink. If splicing wires to an LED connector, follow the same process, ensuring a tight fit.
5. Secure the Splice
Once the wires are connected, secure the splice to prevent damage. First, wrap the connection with electrical tape or use heat-shrink tubing for insulation, ensuring that no copper is visible.
Afterward, use black electrical tape for household wiring or shrink tubing for added water resistance. Always double-check that the insulation covers the entire splice.
A secure connection prevents shorts and exposed wires.
6. Restore Power and Test the Connection
Turn the circuit breaker back on once your splice is complete and secured. Use a voltage tester or plug-in device to confirm the circuit is live and working.
Check that your connected device turns on properly. This final step ensures your electrical splices are functional and safe.
Common Wire Splicing Mistakes to Avoid
Even small mistakes in wire splicing can lead to poor performance or safety hazards. Here are common issues to watch out for:
Splicing Without Turning Off Power: Never work on live electrical circuit wires. Always shut off the breaker and verify with a voltage tester.
Skipping the Junction Box: In some installations, an enclosed electrical box is required to meet code and prevent fire risks.
Twisting Wires Without a Connector: Bare wire twists are not secure. Use wire splicing connectors and wago connectors for a proper, safe connection.
Overheating Solder or Using Too Much: This can cause the insulation to melt and weaken the connection. Apply just enough heat to allow the solder to flow cleanly.
Using the Wrong Wire Gauge: Mismatched wires can overheat or fail to function correctly. Always check gauge compatibility. A fork connector kit can help with organized terminations.
When Should You Not Splice Wires Yourself?
There are situations where splicing wires on your own is not safe or allowed.
Aluminum wiring is more prone to oxidation and requires special tools and connectors. A licensed electrician should handle high-voltage systems due to the greater safety risks they pose.
Furthermore, outdoor electrical work demands proper waterproofing. Without sealed connections, moisture can damage the splice or cause shorts.
When in doubt, it is best to call a qualified electrician. In many locations, electrical codes require a licensed professional for certain types of installations.
You can also use products like spade connectors, a copper cable lug, or a push-in terminal block wire connector, where applicable, for safe and compliant connections.
Recommended Applications for SolderStick Connectors
SolderStick heat shrink connectors make wire splicing faster and more reliable.
Each connector includes dual-solder rings and waterproof heat shrink tubing, creating a durable connection that seals out moisture and vibration. These features eliminate the need for electrical tape or separate soldering tools.
SolderStick connectors are ideal for marine wiring, car repairs, trailers, and home electrical DIY projects. Their color-coded design makes it easy to match the correct wire gauge, and the built-in solder ensures solid contact every time.
For added flexibility, pair them with colored heat shrink tubing to clearly organize and label your circuits. In tight spaces or multi-line setups, a piggyback spade connector kit is another smart solution to streamline connections.
Frequently Asked Questions (FAQs)
Here are quick answers to common questions about wire splicing:
Is It Safe to Splice Wires Without Soldering?
Yes, it is safe to splice wires without soldering when using approved connectors. Twist-on wire nuts, push-in terminals, and heat-shrink crimp connectors can all create secure electrical splices if installed correctly and used in the appropriate applications.
Can You Splice Wires Without a Junction Box?
No, in most home wiring jobs, a junction box is required. Splices must be enclosed in an approved electrical box unless they are part of a listed device or enclosure that permits internal splicing.
How Do You Splice Wires With Different Gauges?
Use wire connectors designed for mixed sizes, such as combination-rated connectors. Always check the connector’s label for compatibility and ensure the connection meets the circuit’s current-carrying needs.
Key Takeaways on Splicing Electrical Wires
Splicing wires correctly keeps your electrical circuit safe, functional, and code-compliant. Using the correct tools, selecting the right splice type, and adhering to safety procedures all play a crucial role in a successful splice.
Quality connectors, such as those offered by SolderStick, simplify the process by offering waterproof seals, built-in solder, and easy handling for both professionals and DIY users.
Whether you are learning how to crimp butt connectors or organizing with a ferrule connector kit, using the right gear matters. For quick connections, a bullet wire connector is another reliable option. Always prioritize safety and solid connections.
Explore more wire splicing tools, how-to guides, and kits available from SolderStick to make your next project faster and safer.