Is Cable Crimping Safe?
What is network cable crimping?
The term “crimping” already raises a few eyebrows. After all, it's a different word and notso common in our daily lives. This comes from the fact that it derives from the term “to crimp”, which means something like shaping a surface, basically the crimping process.
It works like this: you create a new entry from an ethernet cable. You can do the
crimping with new cables or those already from home. It is a very common process in everyday life for those who install the internet at home. Therefore, there are not so many secrets for crimping.
What is crimping used for?
Overall, it decreases the cable size. This does not change the quality of the connection or the material itself. Of course, you need to do the procedure correctly, otherwise it may even lose the tool. As we commented before, some people choose to carry out the process because the cables come from the factory with a defined length. With that, it may be necessary to crop and downsize.
Many people think that very large cables pollute the look of the place. Furthermore, they can even lead to accidents. Think about this: if you plug the cable into the modem and its extension is long enough to create volume and be in a place of circulation of people, it can trip someone up. In that case, better crimp.
How to make a correct crimp?
- Step 1: Organize the materials
Make sure you have what you need for the process. If you arrive in the middle and something is missing, you can
spoil the crimp or delay everything. Therefore, organize and buy the equipment not
available at home. None of them are very expensive, so you won't need a big investment.
- Step 2: Measuring the cable
Define where you are going to place the new entry and cut the rest. One tip is to leave some
centimeters more, in case an error occurs. About a hand's breadth is fine.
Discard the remainder and proceed to the next step.
- Step 3: Remove the cover
To gain access to the wires inside the cable, you need to remove the protective cover. It can be done with pliers, as it has a specific blade for this. But you can use a stylus quietly, or stripper pliers.
Regardless of the tool, you should take approximately an inch off the skins of the
two ends of the cable. Be careful not to cut the wires.
- Step 4: Unwind the wires
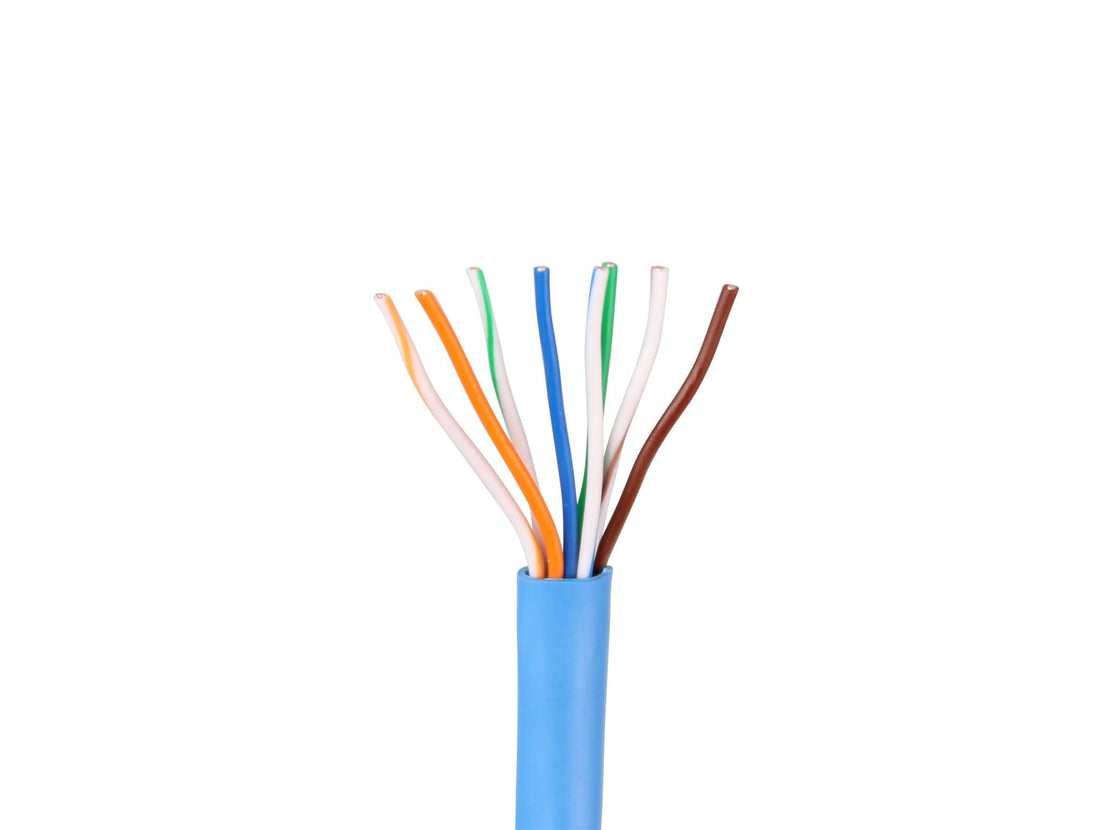
That's it, you've already removed the cover completely. Now, you need to separate. There are four pairs of strands placed together, making a total of eight strands. Each pair has a stronger color and another weaker, or white. You must unwind the threads and leave them straight, getting with the eight apparent.
- Step 5: Put in the correct order
After that, you need to arrange the wires in the correct order, before crimping. Separate the strands: one strong color followed by a weak color or white. In this step, the wires should be very close to each other. With the blade of the pliers, cut the ends evenly. This is very important for it to fit correctly.
- Step 6: Measure the wires to fit
Before finalizing, you need to measure the cut wires to be able to fit the connector. They
they should be long enough for the beginning of the jacketed cable to be inside the connector.
- Step 7: Finish the crimping
Take the wire connector and have the top facing you. Put the cable inside
of it and push until the ends reach the maximum of the connector. Keep an eye out if the wires don't go out of their positions, otherwise you will need to place them again. Plug the connector into the pliers entry and press to finish.
What are the most common mistakes?
1. Connection issues
It seems to be something very simple, however, this error can harm the functioning of the
equipment. This happens because the technician responsible for the structuring was careless, due to problems with the connectors or oxidation. Therefore, it is important to pay attention and check whether all connections are correct.
2. Damaged cables
When cables are damaged or severed, everyone will feel the effects,
mainly the slowness, which affects the normal activities of the company. To resolve, the
professional can use a tester, to indicate if the cable has been damaged, if this happens,
you need to change it.
3. Failures in certification and documentation
The success of wired network structuring depends on standards that need to be followed
from the beginning. If this does not happen, the efficiency of your network is compromised. The best
solution to this problem is to adopt through physical documentation, the description of the
activities and profile of the network to be set up, including a detailed description of the
equipment that makes up the set.
