


CART (0)
Our Biggest Sales ends in
HRS
MIN
SEC
Our Biggest Sales ends in
HRS
MIN
SEC
FEATURED

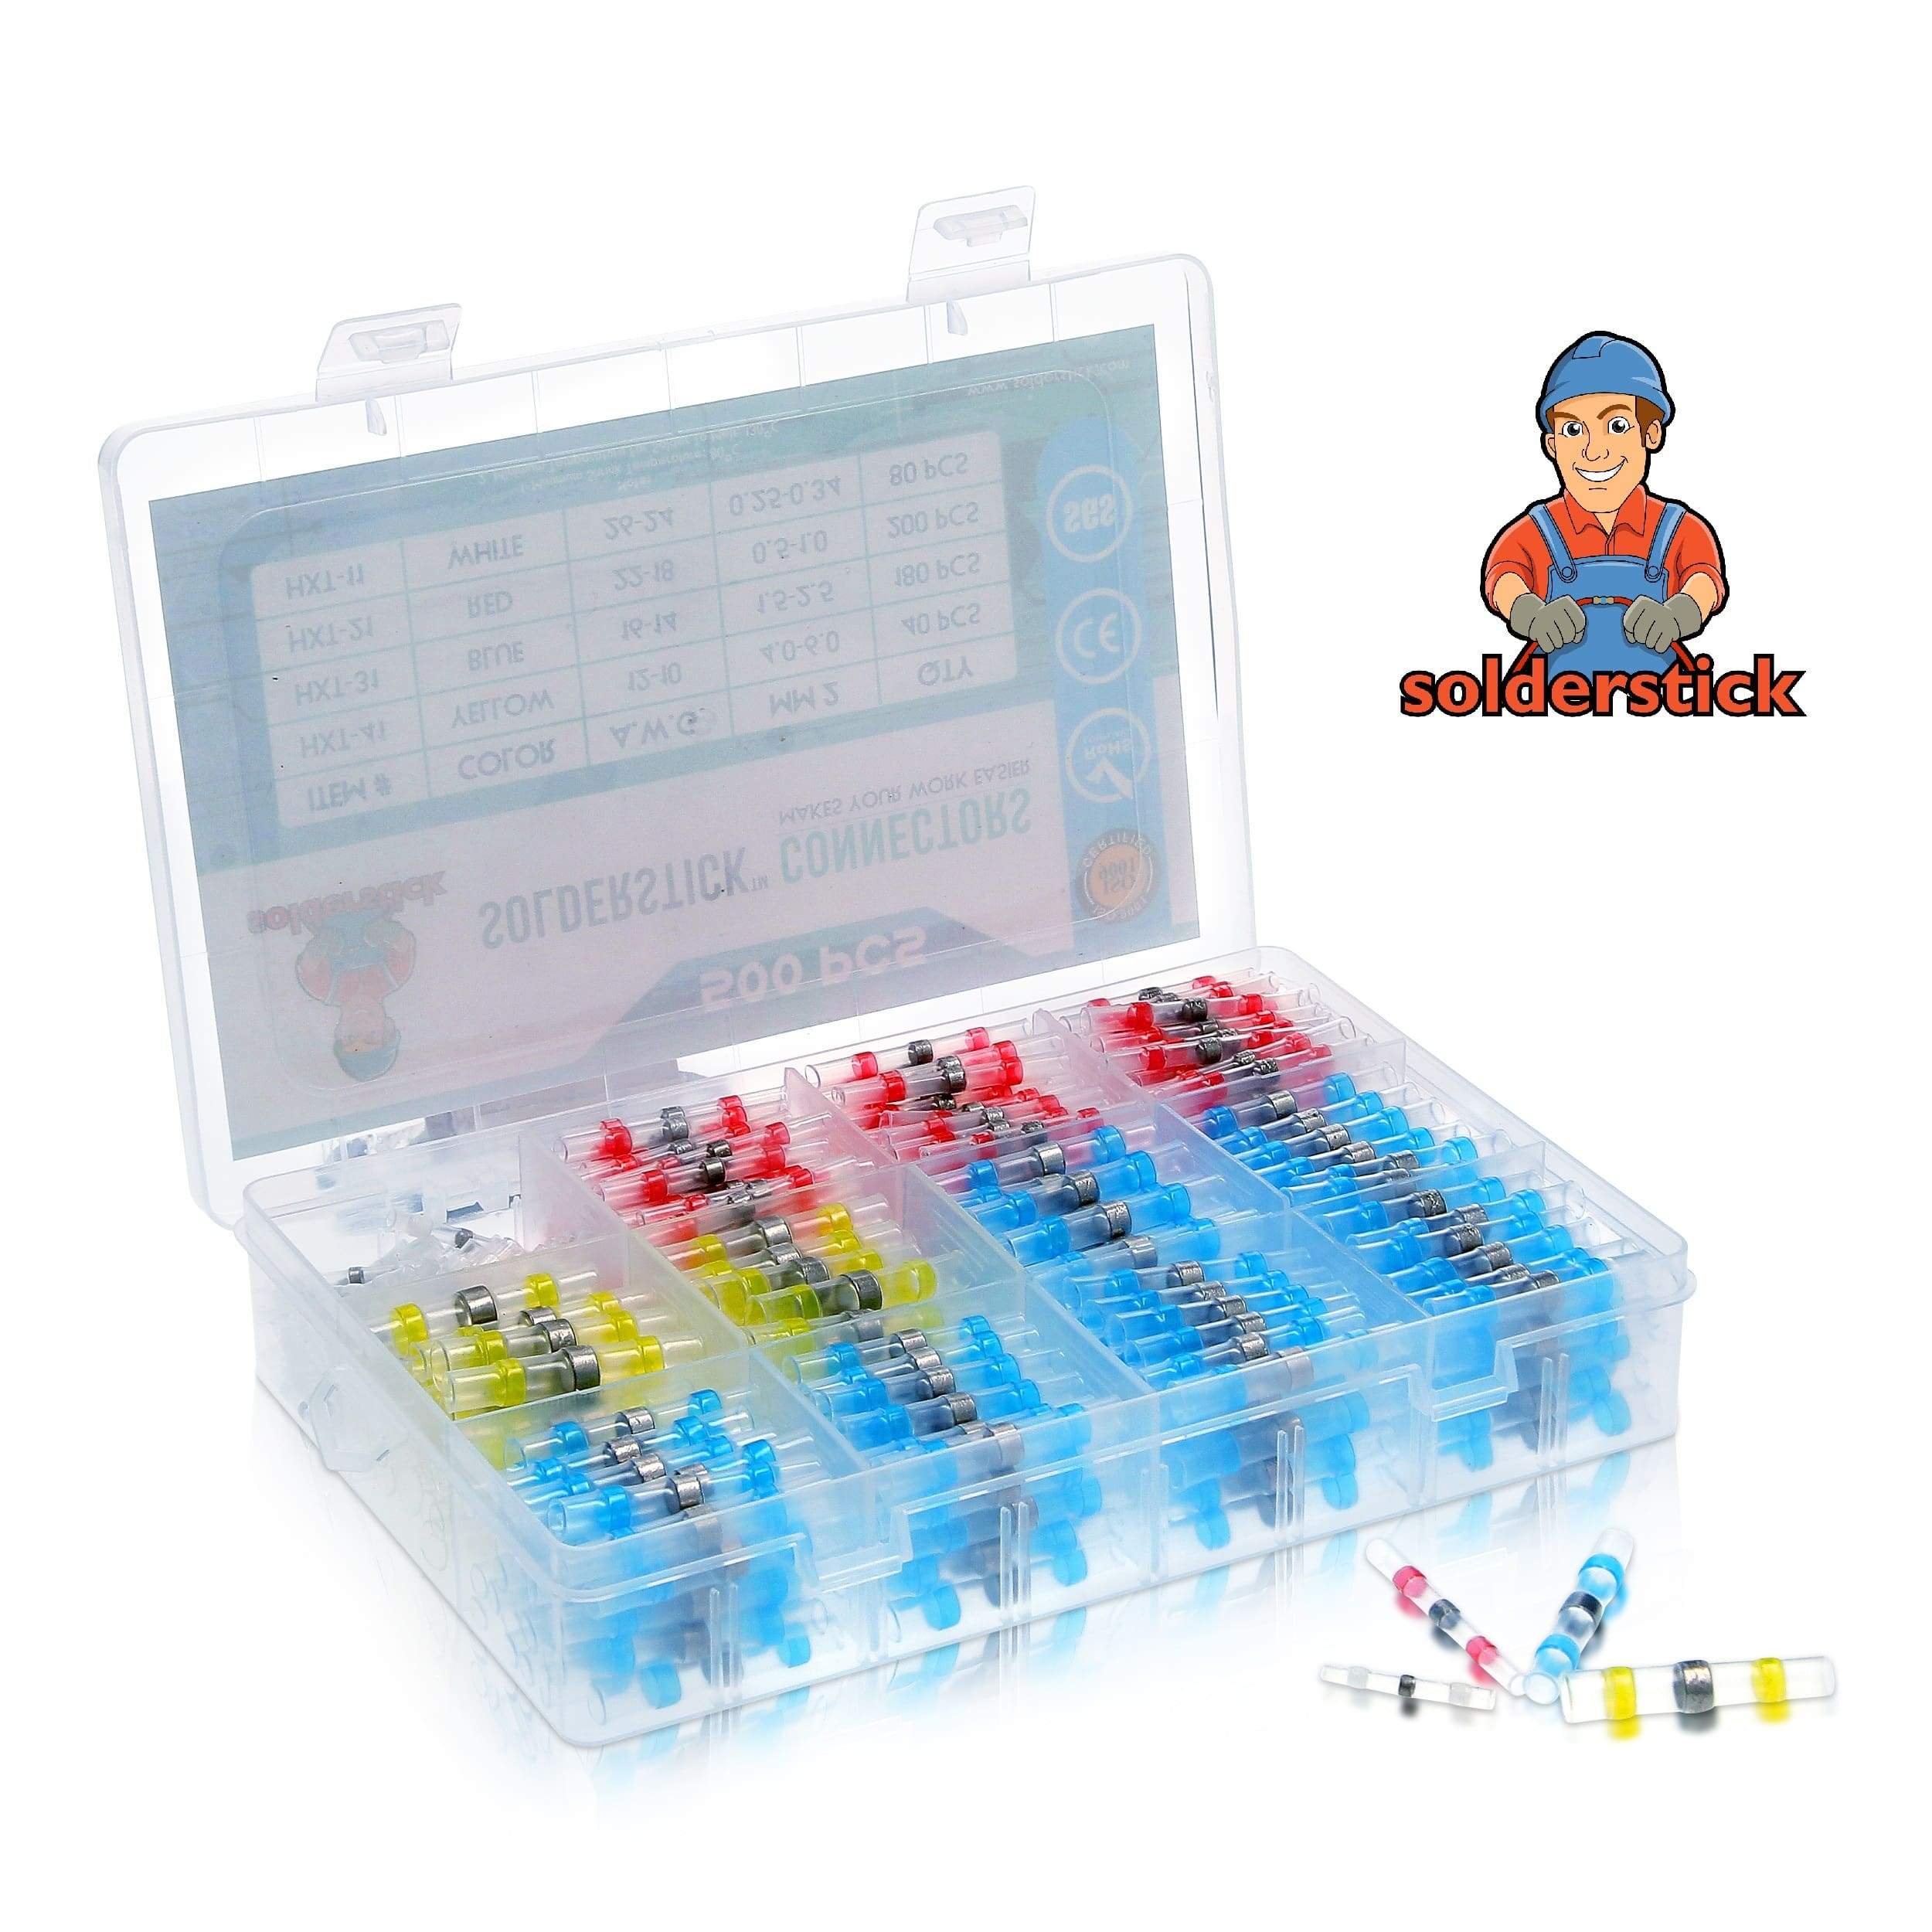
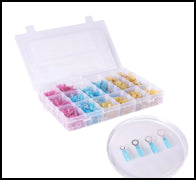
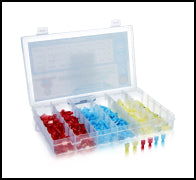
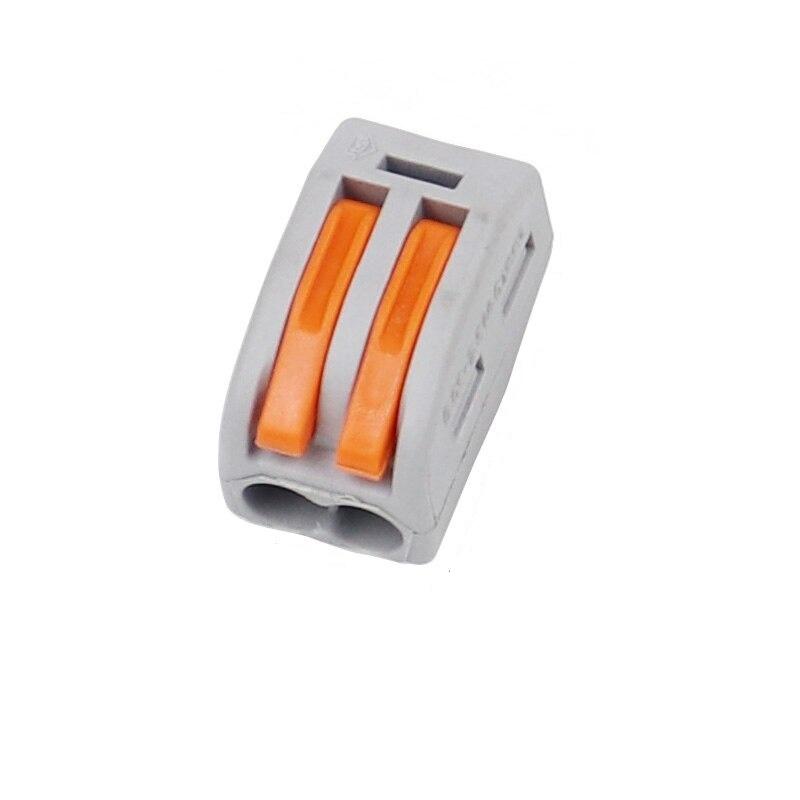
SolderStick Waterproof Solder Wire Connector Kit
Our Biggest Sales ends in
HRS
MIN
SEC
Our Biggest Sales ends in
HRS
MIN
SEC
"As a seasoned electrician, this connectors have become my go-to choice. Their reliability and ease of use stand out in every project. The rock-solid crimps ensure a secure connection, and the heat-activated sealant adds a layer of durability."
Introducing our Professional Wire Crimping Tool, designed to elevate your crimping experience to new heights of precision and efficiency.


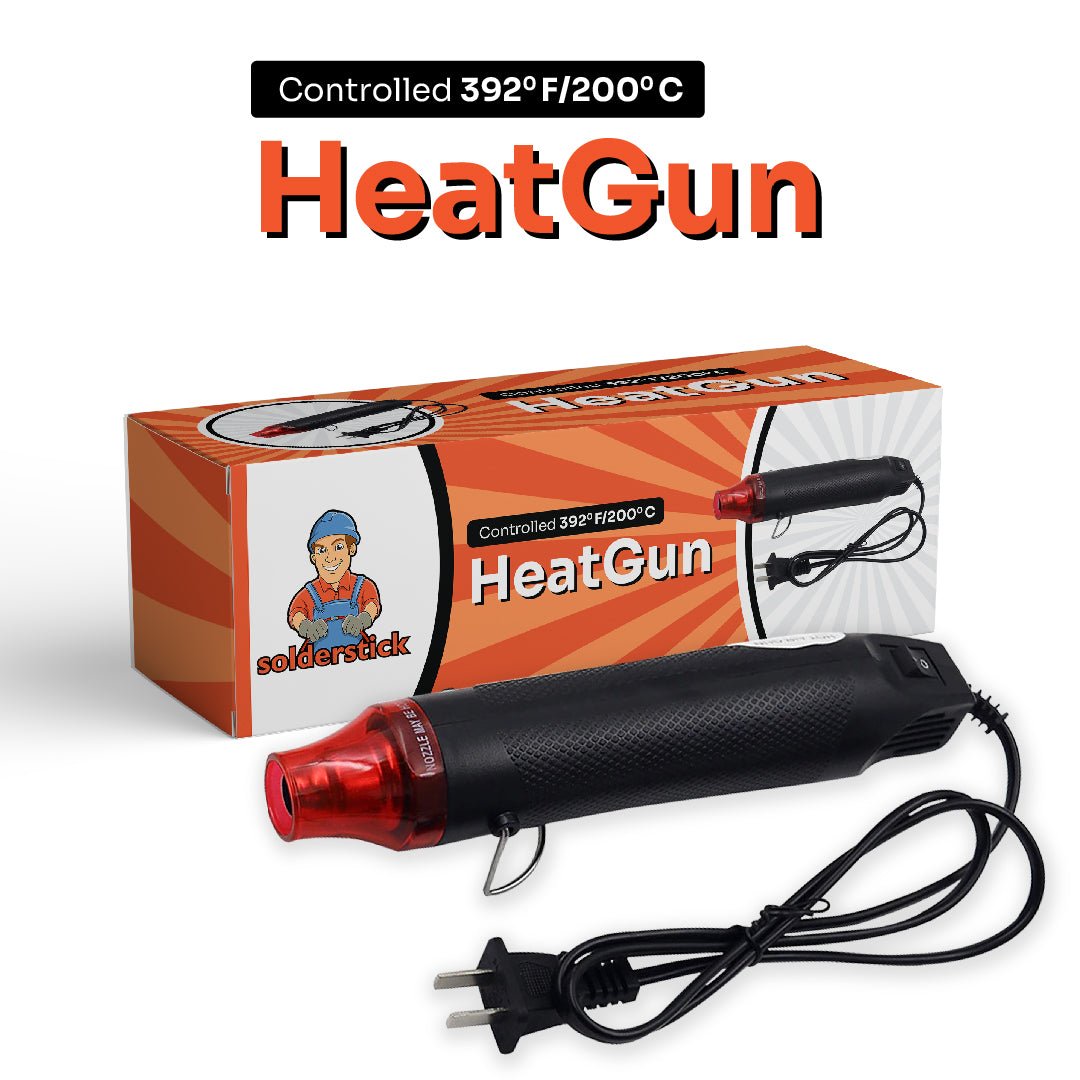
Experience seamless soldering like never before
Why Solderstick™


"As an electrician, precision is key, and this crimping tool delivers just that. The well-polished jaws ensure a clean, solid connection every time, saving me time and hassle on the job. Plus, the ergonomic grip handle makes long hours of crimping much more comfortable. Highly recommended!"

"As a loyal customer of SolderStick, I've come to expect nothing but the best from their products. Once again, their wire crimping tool has exceeded my expectations. Whether it's electronics projects or household repairs, this tool never fails to deliver precise and reliable crimps. SolderStick continues to impress me with their commitment to quality."

"This crimping tool exceeded my expectations. The ease of use makes crimping wires a breeze. The overall performance of this tool is exceptional, and I wouldn't hesitate to recommend it to anyone in need of a reliable crimping solution."


Efficient, Reliable, and Hassle-Free Wire Crimping
With SolderStick’s cutting-edge, quick-and-accurate ratcheting mechanism, you can experience flawless wire connections that will make your wire work easier.
Our tool delivers a 50% reduction in connection times compared to conventional procedures, so say goodbye to laborious crimping processes.
Our tool also offers dependable connections for a variety of applications, from electrical projects to auto repairs. Whether you are working with flexible or solid conductors, we have options for your needs.
Perfect For Professional Or Emergency Use


High-quality steel
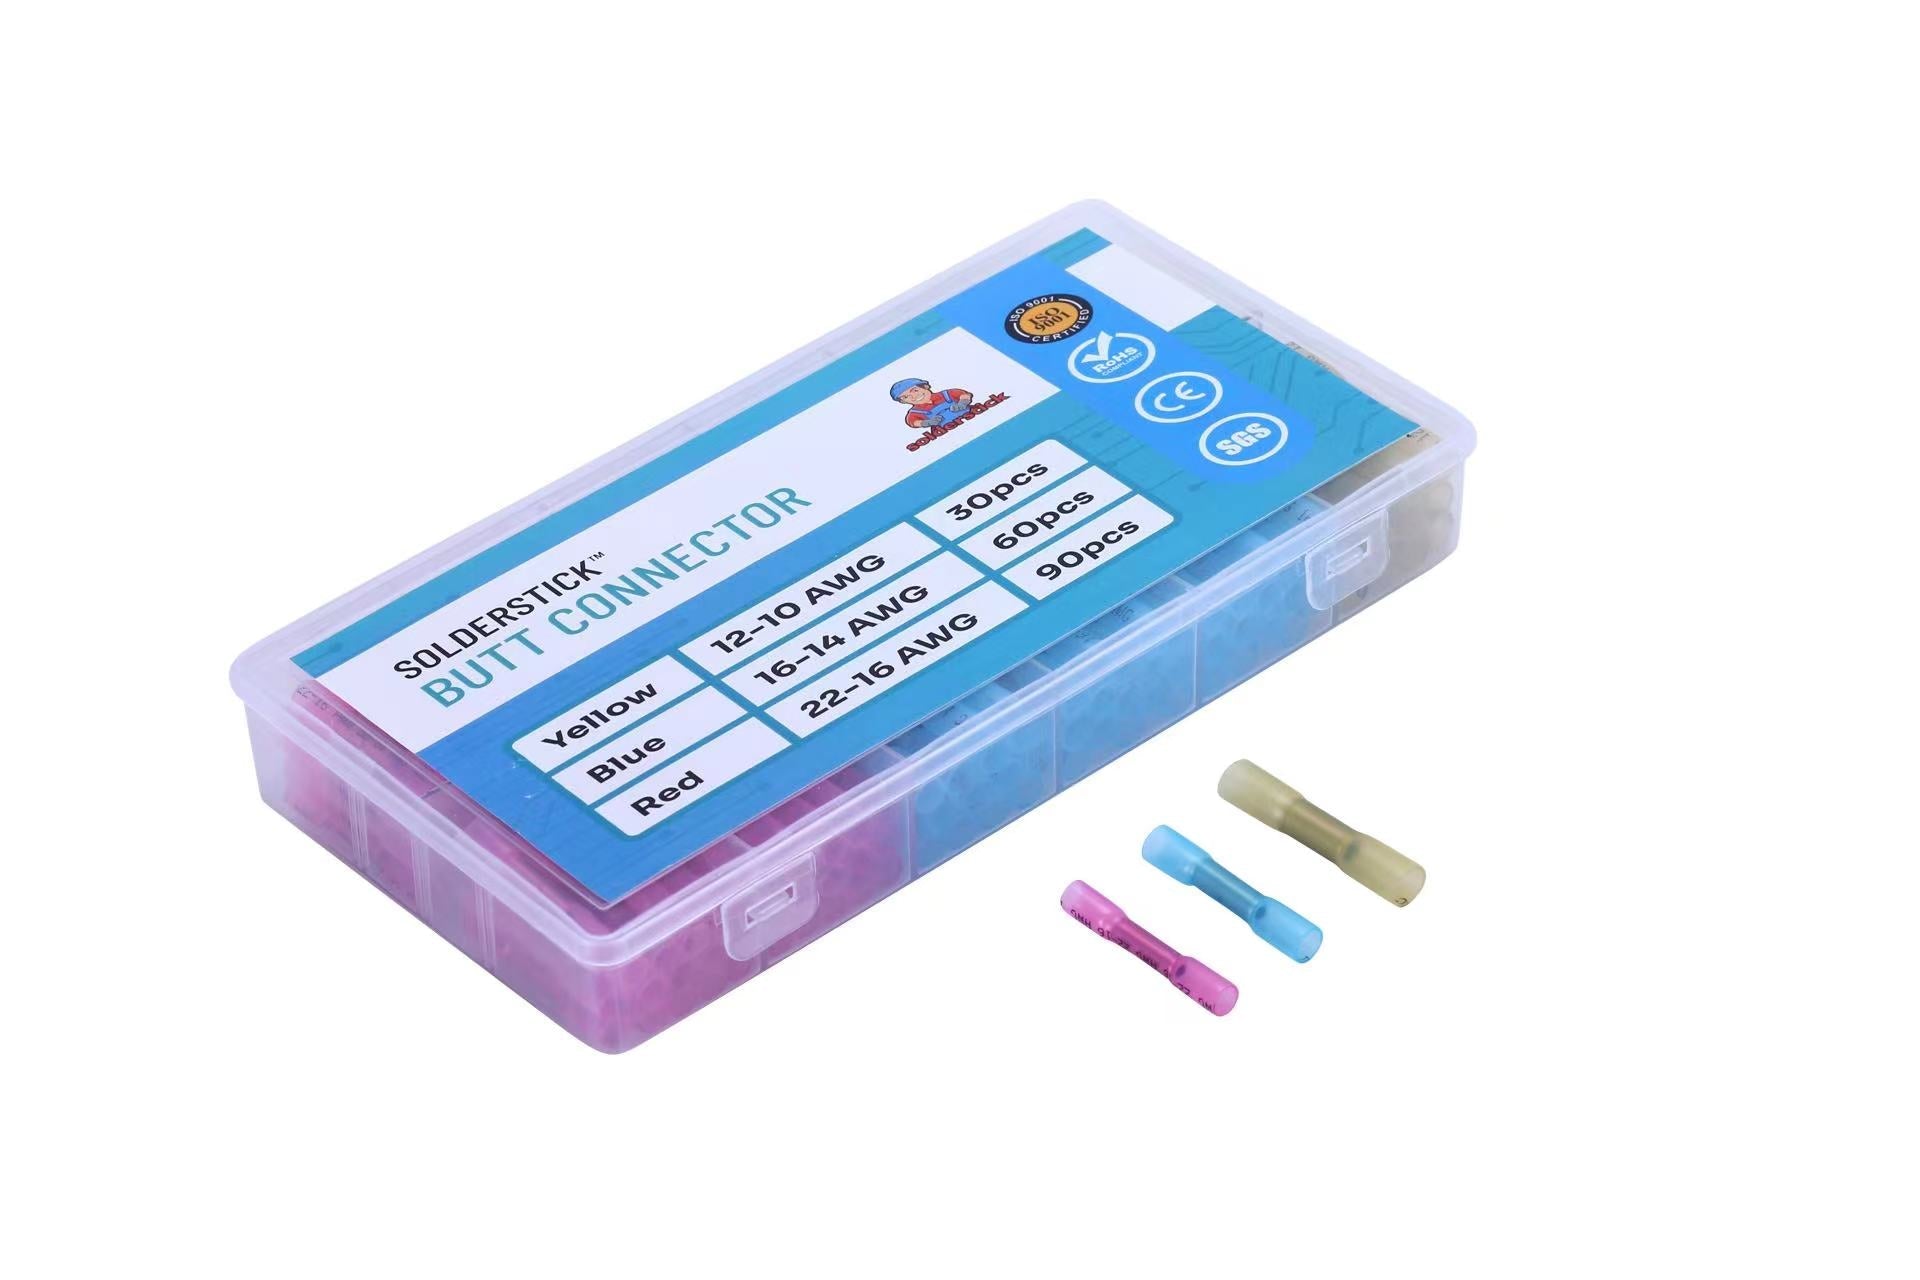
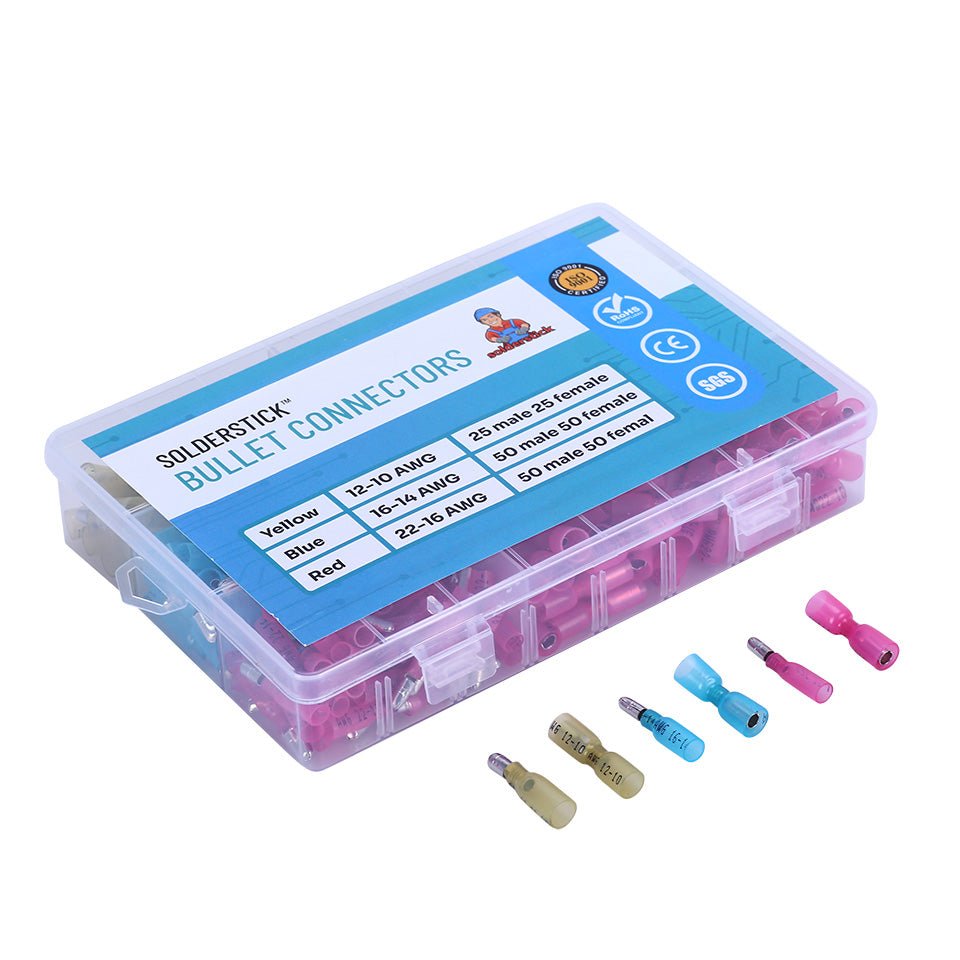
AWG 22-10
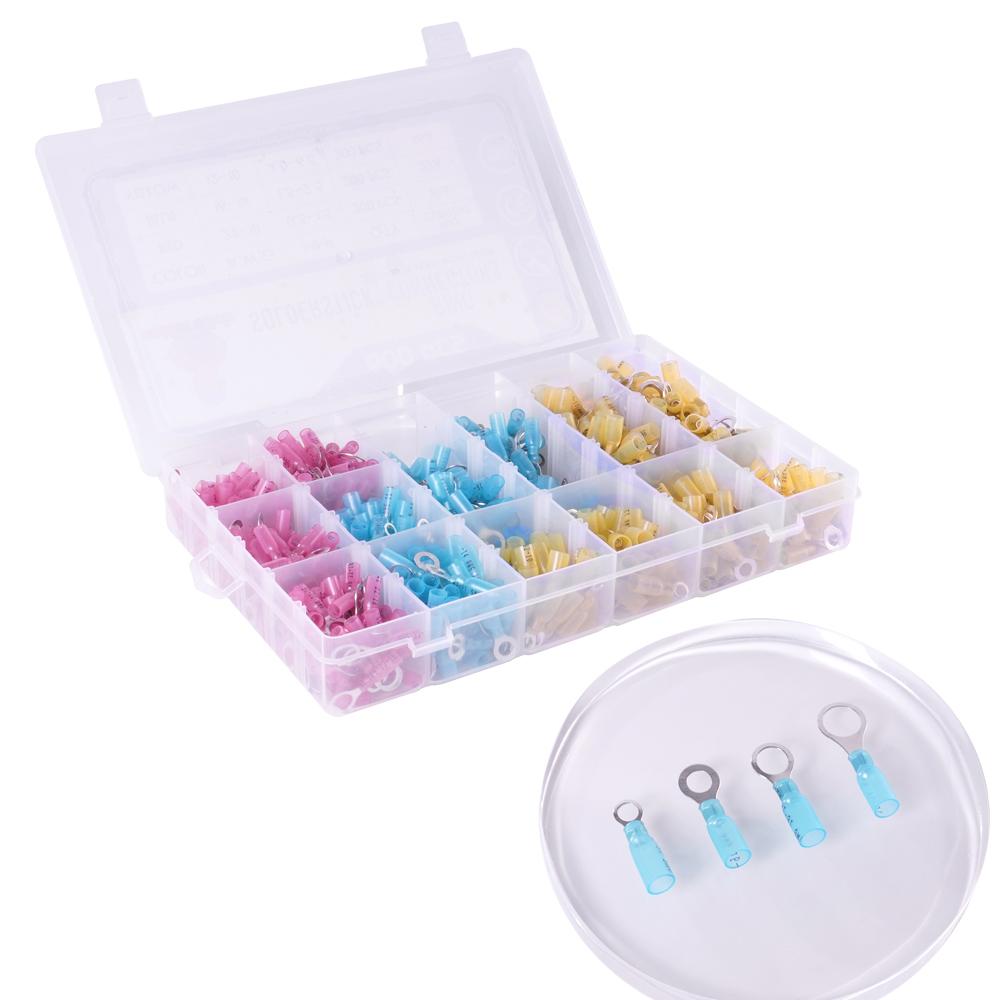
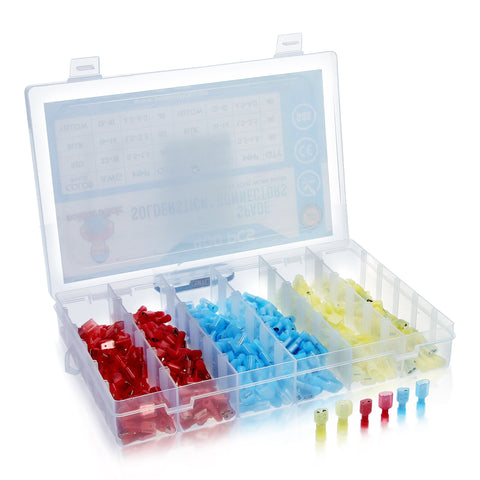
Insulated nylon electrical terminals
Solid and flexible conductors
Electrical projects, automotive repairs, and more
The SolderStick Wire Crimping Tool is aversatile and reliable tool designed to create secure, professional-grade wire connections.
Built with a durable ratchet mechanism, it ensures consistent pressure for precise crimps every time, making it ideal for both beginners and experienced users.
The ergonomic handle further provides comfort during extended use, reducing hand strain.
This crimping tool is compatible with awide range of insulated and non-insulated connectors, allowing for flexibility across various electrical projects.
Its sturdy construction and user-friendly design make it a valuable addition to any toolkit, ensuring long-lasting performance and dependable results.
The SolderStick Wire Crimping Tool offers a range of features designed to ensure reliable and efficient crimping. Key features include the following.
Durable ratchet mechanism for consistent, secure crimps.
Ergonomic handle for comfortable use during extended projects.
Compatibility with a wide variety of insulated and non-insulated connectors.
Adjustable crimping pressure to accommodate different wire sizes.
High-quality steel construction for long-lasting durability.
Easy-to-use design that is suitable for both beginners and professionals.
The SolderStick Wire Crimping Tool is versatile and can be used in various applications. Some of the most common applications of this tool include the following.
Attaching connectors to electrical wires for secure connections.
Creating custom wiring harnesses for automotive or industrial use.
Repairing or maintaining electrical systems in vehicles, boats, or homes.
Crimping terminals onto wires for electronic projects and assemblies.
Ensuring strong and reliable connections in networking and telecommunications cables.
Installing or replacing connectors in audio and video equipment.
Here is a quick guide on how you can use the SolderStick Wire Crimping Tool.
Select theright wire and connector before crimping to get the best results.
The wire gauge must be compatible with the connector size to achieve a secure fit, which will help with both electrical conductivity and mechanical stability.
When stripping the wire, use a wire stripper to carefully remove the insulation without damaging the conductive material inside.
Typically, you shouldstrip about 1/4 to 3/8 inch of insulation, depending on the connector's requirements, to expose enough wire to create a solid connection.
After stripping, insert the wire into the connector, making sure it is fully seated.
The conductive part of the wire should be in contact with the metal inside the connector, while the insulation should be flush with the connector's edge. This ensures the crimp can securely hold the wire without exposing any part.
To use the crimping tool correctly, start by opening its jaws and placing the connector with the inserted wire into the appropriate crimping slot.
Ensure theconnector is properly aligned with the tool’s die, matching the size and type of the connector used. The wire should remain fully seated in the connector throughout the process.
Provideeven pressure, steadily squeezing the crimping tool handles until the crimp is complete. When using the tool, make sure to follow its specific mechanism, whether it is single-stage or ratcheting.
This ensures the connector is compressed evenly, creating a strong bond between the wire and the connector.
After crimping,inspect the connection to ensure it is securely held. The crimp should be tight, with no visible gaps between the wire and the connector.
If the crimp appears loose or the wire is not securely held, re-crimp the connection, ensuring the connector is correctly positioned before applying pressure again.
Thoroughly test your crimped connection to verify that it is strong and conductive.
Start by gentlytugging the connectionto ensure the wire is securely held by the crimp, with no movement between the wire and the connector.
Then, Set the multimeter to continuity mode and place the probes on either side of the crimped connection. Amultimeter is an effective toolfor checking electrical continuity, verifying that the crimped connection allows electricity to flow properly.
A successful test will indicate continuity, confirming the electrical connection is intact.
Finally, visually inspect the crimp forsigns of weakness or improper crimping, such as gaps between the wire and connector, uneven compression, or exposed wire strands.
Addressing these issues immediately by re-crimping or starting over can prevent future connection failures.