DIY Guide: How to Use Colored Shrinking Tubs for Cable Insulation
With heat shrink tubing you will be able to insulate your electrical components from different external factors - including, but not limited to, abrasion, dust, and moisture. Considering how dangerous these issues can be, heat shrink tubing ensures that you can prevent circuit failures and shorts. Just as well, their protective ability comes in handy in DIY cable insulation and organization projects.
In the past few years, heat shrink tubing has also become incredibly varied. Different manufacturers use colors to demarcate different types of heat shrink tubing, allowing users to easily draw lines between different tubing types and the projects or situations where they might work perfectly. In this article, we’ll look into how to use colored shrinking tubes for cable insulation.
Heat Shrink Tubing: What Is It?
Heat shrink tubing is a thermoplastic tube that contracts in size when it is exposed to heat. When placed close to electrical components and wire arrays, heat shrink tubing essentially collapses in order to fit the specifications and contours of the equipment in question.
This adaptability provides a protective layer around your electrical components. The layer can cover parts of individual wires or simply group arrays together. The end goal is optimal protection against things like moisture, abrasion, dust, and low-impact cuts.
In the creation process, most manufacturers of heat shrink tubing make use of extrusion to create a tube thermoplastic material. The material in questions an vary based on the intended application - so, a material that works for DIY cable organization might not necessarily be the same that will work for cable insulation tasks.
Once the desired plastic has been extruded, the material is heated - a process that forces it to expand significantly. By expanding, the tube’s diameter is increased, and the tubing is allowed to cool into room temperature.
From there, the expanded thermoplastic tube is placed around the wires or other component and heated to a particular temperature. With enough heat, the tube is allowed to soften and shrink back to its initial extruded size, covering the entire wires with a layer of protective plastic.
Heat Shrink Tubing: Color Options
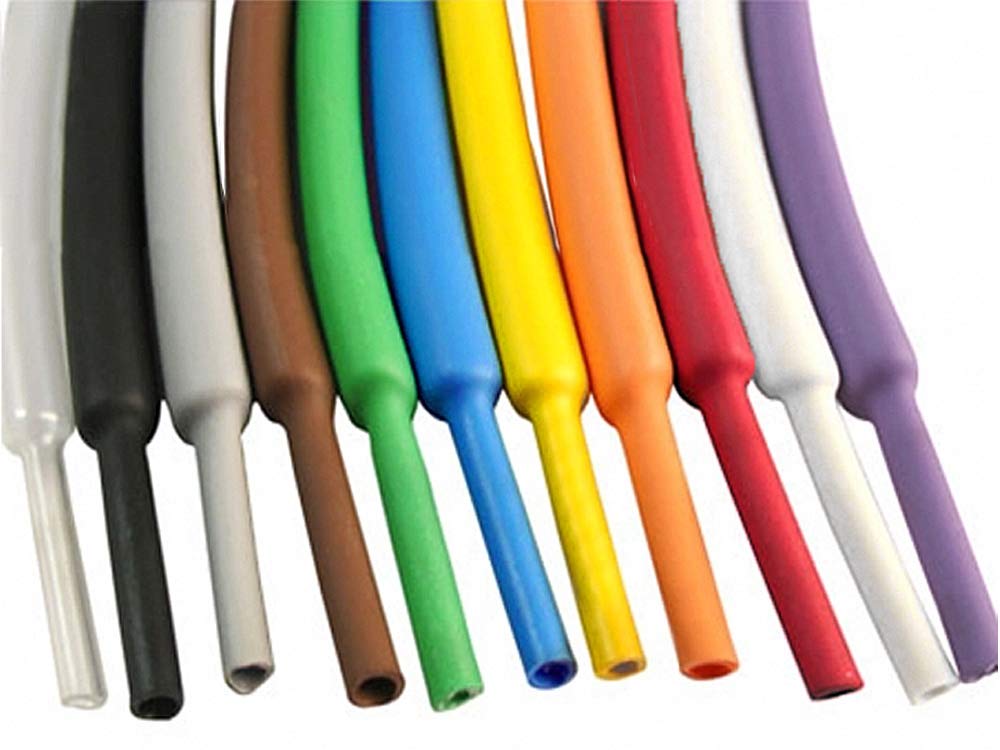
When it comes to what shrink colors, one of the most significant questions is which colors are tubes available in. generally, products are available in different colors - some can be standard, while others can be bespoke.
Standard colors within the electronic industry are recognized in this manner:
|
Color |
Abbreviation |
Market Color Code |
|
BLACK |
BLK |
0 |
|
BROWN |
BRN |
1 |
|
RED |
RED |
2 |
|
PINK |
PNK |
2L |
|
ORANGE |
ORN |
3 |
|
YELLOW |
YLW |
4 |
|
GREEN/YELLOW STRIPES |
GYS |
45 |
|
GREEN |
GRN |
5 |
|
BLUE |
BLU |
6 |
|
VIOLET |
VLT |
7 |
|
GREY |
GRY |
8 |
|
WHITE |
WHT |
9 |
|
CLEAR |
CLR |
X |
How To Use Colored Heat Shrink Tubing
No, let’s go into the DIY guide and explain cable insulation using colored shrinking tubes:
Step 1
Shrinkage occurs in the tubing once heat has been applied - we know this. However, it is also critical for you to choose the proper size of heat shrink tubing for your project.
In doing this, you want to keep two terms in mind - recovered diameter (which is the diameter following the shrinking) and expanded diameter) the diameter before the shrinking. To get the secure fit, ensure that the tubing’s recovered diameter is smaller than the diameter of the region you’re looking to insulate. That way, you get a tight fit a soon as it shrinks.
Just as well, the expanded diameter of the tubing needs to be large enough to fit over the insulated area - as well as any possible wire connectors that will be attached to it.
Step 2
Once you’ve found the right dimensions for your heat shrink, the next step will be to cut the heat shrink tubing to a functional length. Remember to allow for at least a ¼-inch overlap over any existing insulation or connectors.
You should also remember that tubing shrinks lengthwise - usually 5% to 7% during the overall shrinking process.
Step 3
Now that you’re done with the cutting and measurement, you can slide the cut tubing over the object you want to cover.
If you’d be spilling two cables together, simply slide the tubing over the splice’s center and allow for an equal overlap on both sides. This way, you ensure that the entire splice is covered properly.
Step 4
Before the actual shrinking, check the specifications of the tubing to find the recommended tubing temperature. Uncontrolled heat can cause significant unevenness in the shrinkage - as well as insulation failure and even physical damage. So, we won’t advise that you use open flame for the heating. A heat gun is a great choice - plus, it’s really not so costly.
Step 5
If you’d be covering a long cable length with the tubing, you can start shrinking at one end and work your way to the other.
Apply heat evenly over the length and around the tubing’s diameter until the entire structure has been shrunk evenly and can confirm to the cable’s shape. Once that is done, remove the heat source and let the tubing cool slowly before you add any physical force to it.
You should also remember to caution yourself against overheating. As a tip, you could use silicone lubricant over the cords or wires to guide heat shrink over them without causing an erosion over the heat shrink material.
