How to Splice Ethernet Cable?
Splicing an Ethernet cable is a delicate process that involves connecting two cable segments securely to maintain optimal data transmission. Utilizing reliable wire connectors is crucial in achieving a seamless splice. By employing quality wire connectors designed for Ethernet cables, individuals can effectively join cable segments, maintaining the cable's structural integrity and safeguarding the integrity of data transmissions. Whether for home networking or professional installations, using appropriate wire connectors during the splicing process is paramount to guarantee a reliable and efficient Ethernet connection.
Ethernet cables can be made available in quite large sizes, with lengths greater than 100 meters. However, if it is necessary to cover an even larger distance, or if a section of cable is damaged, splices can be made without large losses in signal quality, as long as the process is carried out correctly and efficiently.
For What Can You Use a Splice Connector?
The simplest way to use two or more cables at the same time is with a small
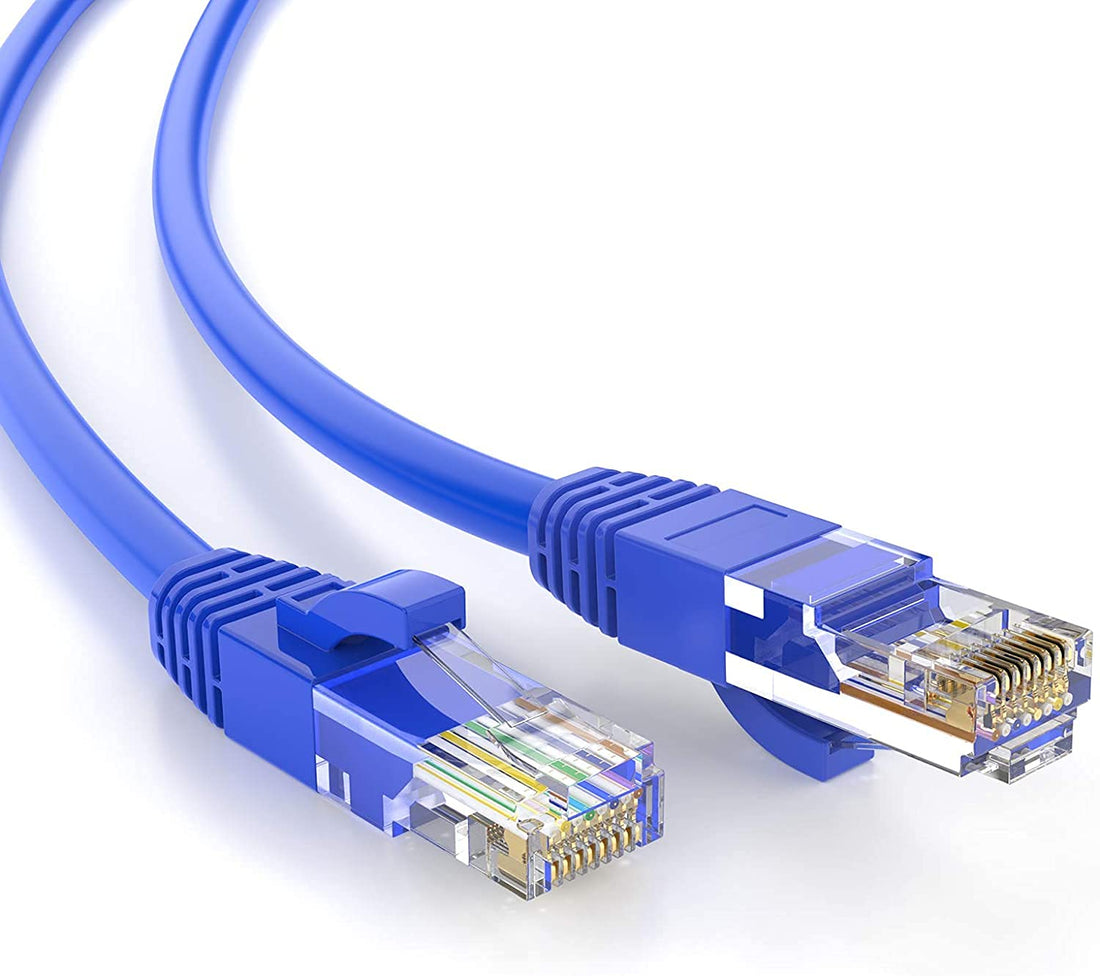
object called a splice, but which can also be referred to as a protractor. it is about of a very simple and small piece, and its construction has two standard RJ45 ports, in which the two cables can be easily and quickly connected.
If your cable is damaged and you want to use the extension to make the splice, it will be necessary to cut the damage area and make two new RJ45 leads that will be connected to the extender.
Extension splices are often a viable solution only when the cables are not damaged. In situations where it is necessary to join sections of broken cables, it is not recommended to join the internal connectors directly, as would be done in an electrical cable, for example, this practice can generate signal interference that should affect the final experience.
How to Splice a Cable
When the situation is an emergency, the first step required to splice a cable is peel off the two parts that will be joined, removing the external protection to reach the actual connections. It is necessary to wind the ends in sequence, matching the corresponding colors and forming a kind of spiral, when the process is finished, each one of the internal cable combinations must be covered with insulating tape, to reduce effects of interference.
In any case, network cables with damaged ends can be crimped again and reused, even if to a lesser extent. This may be a valid solution together with the RJ45 adapters, for example.
The process can be summarized with a few simple steps, but which may require the use of specialized tools:
1 - Cut the damaged ends of the cable straight, and "peel off" the outer protections
in about three centimeters beyond the new end;
2 - Separate and identify all the wires with their different colors: in total there are eight thin
connectors;
3 - Identify and adjust the correct order for the intended grid pattern. Overall, there are
two combinations that can be used more commonly.
4 - Align the wires straight and cut them so that they are the correct size to fit
inside an RJ45 connector.
5 - Fit the wires inside the RJ45 connector and press with crimping pliers, this
This step can also be performed with other tools that have fine tips, such as
kitchen knives or screwdrivers. However, the result may be imperfect, which generates interference in the experience.
Testing the connection with the new cable can be done in two different ways:
- The most intuitive
consists of simply using it on the intended network and checking that it works — if the signal is arriving, it's also a good idea to do a speed test to see if the performance is compatible with what is expected.
- Contracted with the operator.
However, testing can also be performed using a tester, who is a dedicated equipment for this purpose. Its indicator LEDs can provide information about each internal wire separately, which can be very useful in case of network problems, especially in the most emergency amendments.
