Ring Eyelet Connectors: How to Install and Use Them for Maximum Durability
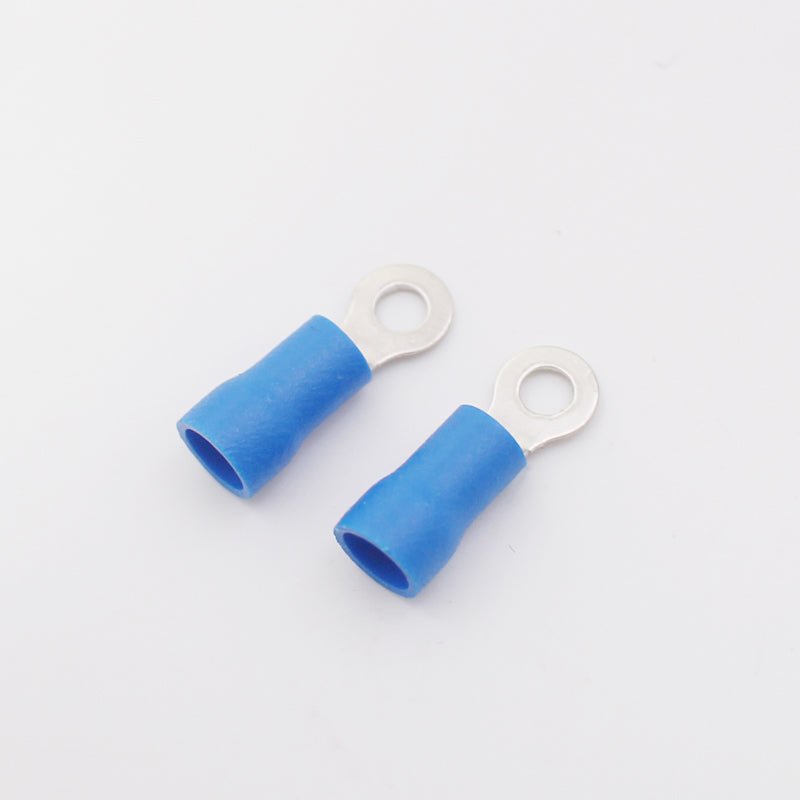
Ring eyelet connectors are a type of electrical connector used to terminate stranded wire. They are commonly used in automotive, marine, and industrial applications to connect wires to a battery or other electrical components. Using ring eyelet connectors, you can rest assured of a stronger connection for your components, and one that can even withstand water-logged situations in some instances.
With the need for electrical connections to ensure maximum durability, it has become a necessity for many people to use ring eyelet connectors. Fortunately, these connectors are readily available and can help you out.
Here's a step-by-step guide on how to install ring eyelet connectors:
Strip the wire:
In most cases, the first thing you will need to do is strip the insulation off the end of the wire. This will expose the bare copper inside the wire and provide a strong basis for you to complete the installation.
It is recommended that you make use of a wire stripper tool for this step. You can strip about a quarter of insulation from the end of your wire and proceed from there. Of course, if the need for any additional stripping arises, don’t be scared to do that.
Crimp the connector:
The next step will involve placing the stripped end of the wire directly into the ring eyelet connector. Be careful to ensure that the wire is properly inserted, and that it is inserted fully into the connector. You also need to center the wire into the ring.
With the use of a crimping tool, this shouldn't be much of a problem. The crimping tool can properly compress the metal around the wire, providing enough durability and security for your connection.
Examine the connection
It’s usually tempting for you to simply let the connection go after you’ve made it. However, this isn’t necessarily the right thing to do. Instead, you should give the connection a second look to make sure that it is truly secure.
You could easily give the wire a tug to make sure that it will be durable enough and won’t end up coming out of the connector. As expected, you’re good to go if there is no removal. However, if the wire is removed, then you would most likely need to repeat the crimping process and be more careful this time.
Complete the connection:
Finally, you can connect the wire to the electrical component you need to make a connection with. If the connection is between the wire and a battery, then ensure that the battery has been disconnected before you go ahead with the connection. You can tighten the battery’s nut with a wrench on the terminal or use any other electrical component to make a secure and firm connection.
And that's it! With these simple steps, you should be able to install ring eyelet connectors with ease.
FAQs
How do you use ring wire connectors?
Ring eyelet connectors are used in several situations. From repair shops and boat builders to everyday boaters, they are among the most popular terminal forms being used at the moment.
Ring eyelets can be used for installing and repairing electrical connections. If there is a need for part replacement, they could also come in handy. With optimal durability and ease of installation, you can really never go wrong with a ring eyelet connector.
How do you put a terminal ring on a wire?
The first step will be to strip the wire entirely. From there, crimp it and ensure that the end of the ire is properly inserted into the center of the ring eyelet connector. Examine the connection to ensure that everything is secure, then you can go ahead to complete the connection depending on what you’re actually connecting.How do you connect two ring terminals together?
You can connect ring terminals to each other (in effect) by landing them onto the same screw or stud (or two such, bonded to each other), with some kind of nut or clamp holding the rings in place.But, it is also important for you to ensure that the screws are properly mounted on something stable and nonconductive. Otherwise, the procedure would be to heat shrink an insulating tube over the entire joint, which defeats your disconnect ability purpose.
How do you tighten ring terminals?
Ring terminals are usually tightened using a crimping tool. However, be sure not to make a connection that is too tight or too loose.